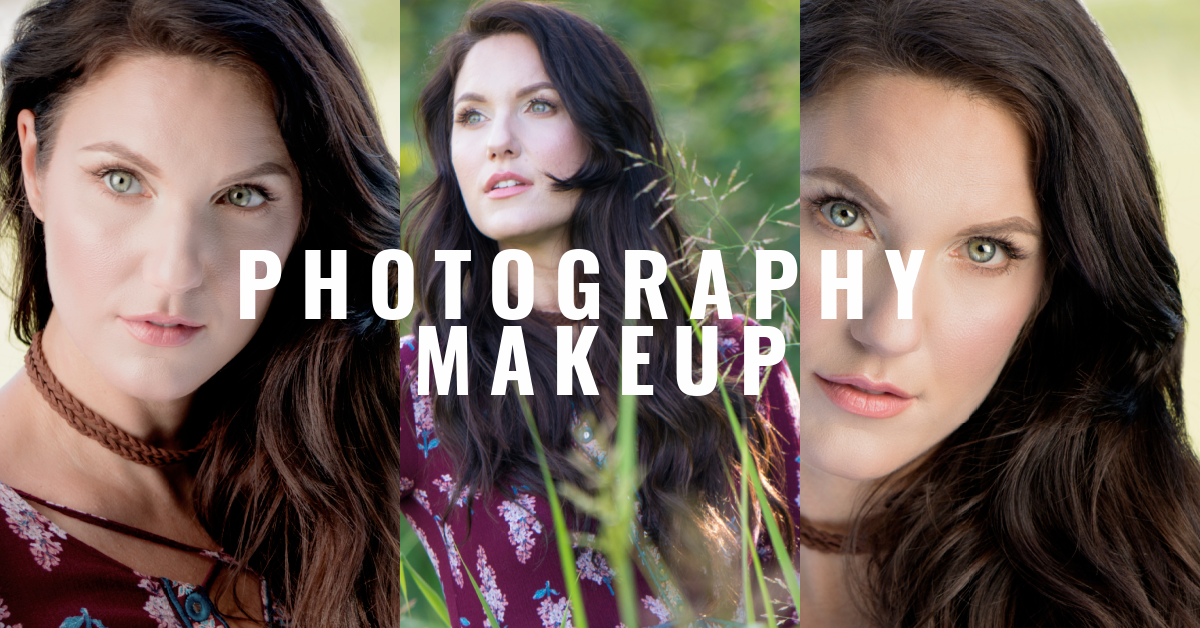
15 Apr Photography Makeup Tips
There’s are a million things I could say about photography makeup, it’s an entire subject of makeup on it’s own, but instead of writing a book, I wanted to share a couple tips that you may or may not know already. If you have any handy little tricks you use please let me know in the comments.
NO SPF
My first tip when doing makeup for any kind of photography is to ensure your products have very low SPF or none at all. Why you may ask, well products with SPF tend to create a bit of what is called “flashback” in your photos. When the light reflects off the subject it bounces back towards the camera and creates an extra white reflection on the face, which probably isn’t what you want. Most products that have SPF will say so on the packaging so check your labels and try and find something that either has no SPF or SPF 10-15 max.
POWDER

When working with photography, models, headshots etc., the photographer is usually using a lot of bright lights and flashes to light up the subject. Therefore it’s very important to use a setting powder after applying foundation and concealer. Otherwise the model will look quite greasy or sweaty in the final photos and can ruin the entire shoot. Hopefully if this happens the photographer can catch it and you can jump in and powder where needed. If you would like the model to look a bit dewy and not too matte, then at the very least you should apply powder to the areas of the face shown in the image here. This is called the “t-zone” and is the area of the face that tends to get oily and shiny. Powder also helps to set the makeup in place to minimize creasing and help with longevity. A high quality powder that is finely milled and has NO shimmer is best.
FACIAL HAIR
The next thing I want to mention is facial hair! And I don’t mean a beard, goatee or mustache. What I’m talking about is unwanted facial hair. If you’re a model or actor who’s going to be photographed a lot, especially with close-ups, then I highly recommend getting your facial fuzz taken care of, whether that’s with laser hair removal, waxing, threading or some other method. I don’t think it’s an absolute must or all will be lost, but it’s definitely something to be considered. For example, I once had an entire photoshoot ruined by facial hair on the model which in fact was hardly noticeable in person. Under the photographers lights, the little hairs created shadows on her face making it look like she had a mustache!
B&W PHOTOGRAPHY

When working with black and white you need to take into consideration that everything on the model’s face is going to be some shade of gray. Why does this matter you may ask, well for example a beautiful Marylin Monroe red lip is going to show up black in the photos, or the models perfectly rosy, blushed cheeks are going to look like a gray muddy mess. When I work with black and white photography I like to use a contour or bronzer in the hollows of the face as opposed to on the apples of the cheeks as I would for color photography. And a medium shade on the lips, nothing too bright and nothing too pale. Oh also another little pointer is don’t use a lipstick that is really matte. It tends to look like the model just ate a bunch of chalk. So something with a little sheen or some gloss on top will do the trick. If you’re unsure how it’s going to show up on camera just check with the photographer and adjust as needed.
THE EYES
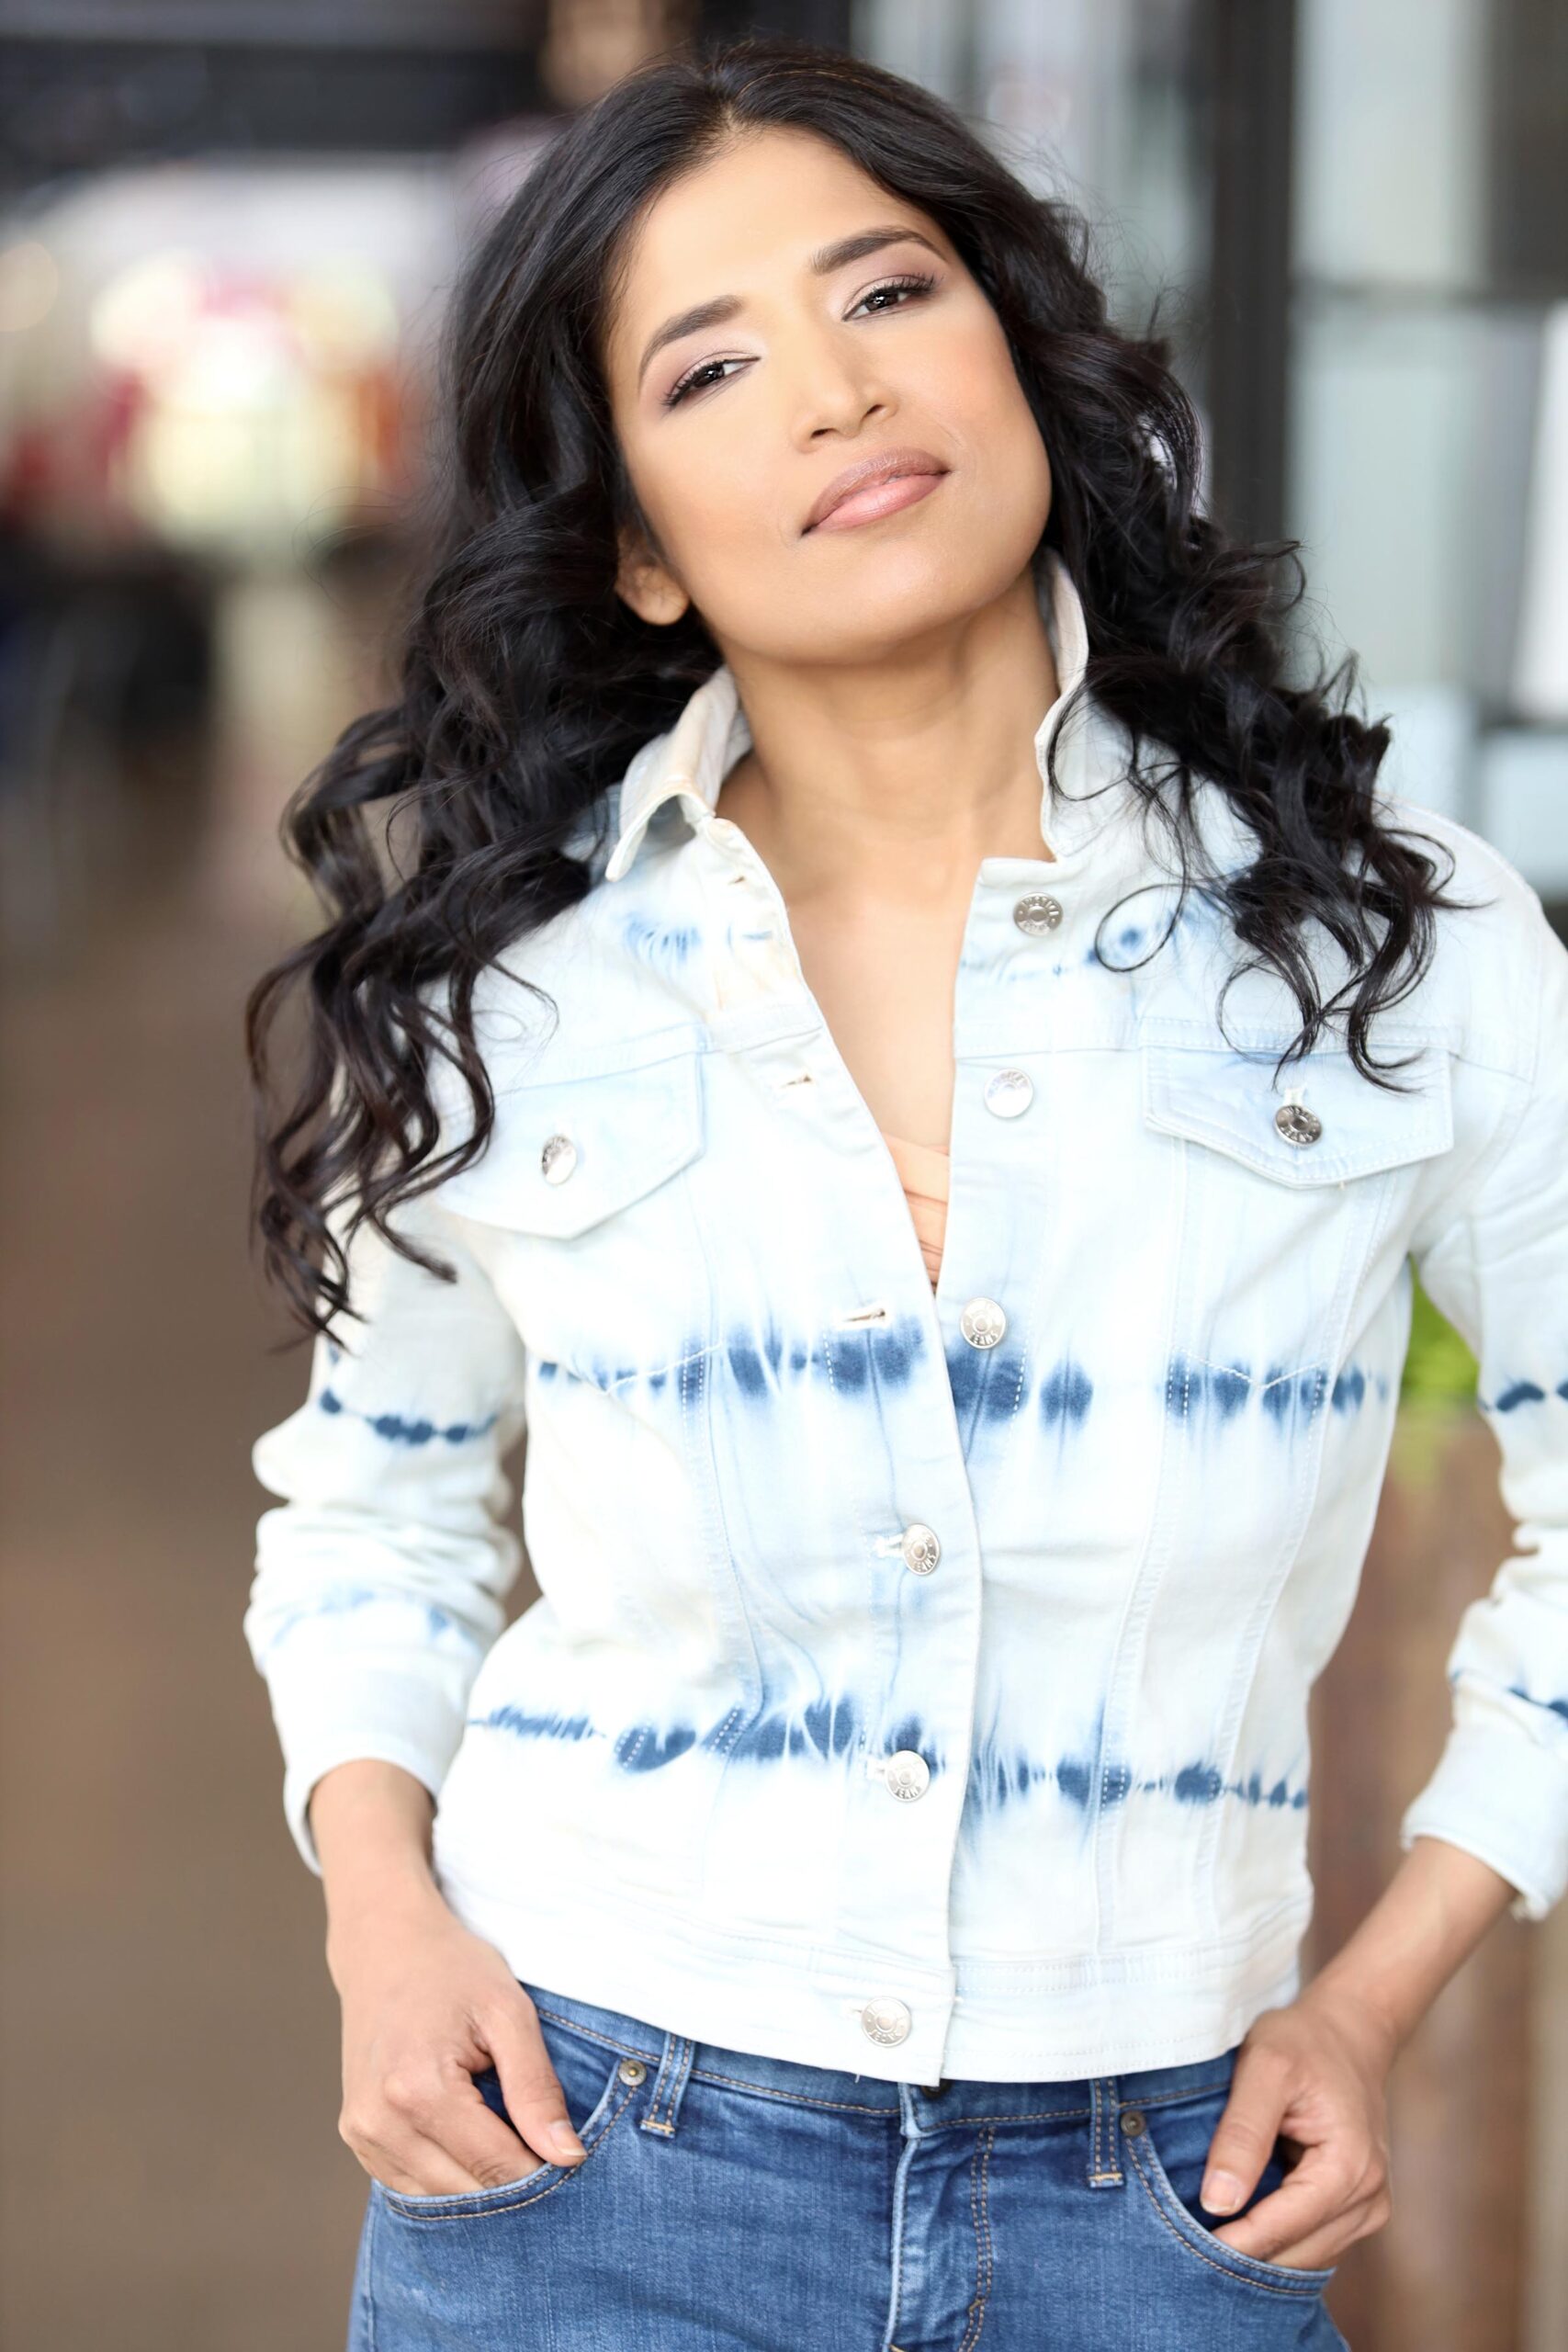 The last thing I want to mention about photography makeup is in regards to the eyes and how much makeup you actually need. A professional photographer is usually working with bright lights and camera flashes so you actually need to apply more makeup than you think. Otherwise the models face may come across looking rather washed-out and blank in the photos. My go-to look for photography makeup is soft smokey eyes, using neutral shades, well blended edges and LASHES! I always use lashes because they help the eyes stand out in photos. If the model doesn’t want lashes I’ll use individual lashes instead which are more comfortable. Just the other day I was working on a client who wasn’t used to wearing makeup but she was getting headshots done so she hired me to do her makeup and hair. Every step of the way she was second guessing what I was doing, saying it was too much makeup, it didn’t suit her face and felt too heavy. I told her to trust me, so thankfully she did. When she saw the photos she was blown away! The makeup looked flawless and quite subtle compared to how it looked in person.
That’s about all I wanted to mention about this subject. If you have any tips and “hacks” for photography makeup, leave me a comment below. Thank you for visiting my blog and have a blessed day.